

A roof is one of the most essential components of your home, protecting everything beneath it from the elements. If you’re planning for a roof installation, it’s natural to wonder what the process entails. Understanding each stage of roof installation can help you prepare for what’s to come, ensure everything runs smoothly, and ultimately result in a durable, long-lasting roof. From selecting the right materials to completing the final inspection, here’s what to expect from start to finish.
Initial Consultation and Choosing Materials
The first step in any roof installation is meeting with a roofing contractor to assess your needs. According to these roofers in Santa Monica, during the consultation, the contractor will inspect your current roof, discuss your budget, and go over potential roofing materials. The choice of material is crucial, as it will affect the overall cost, durability, and appearance of your roof. When working with professionals, you’ll receive guidance on selecting the best materials for your climate and home structure. Whether you opt for asphalt shingles, metal roofing, or tiles, the right contractor will help you weigh the pros and cons of each option. This initial stage is also the time to ask questions about warranties, maintenance requirements, and estimated timelines for the project.
Roof Removal and Preparing the Deck
Once you’ve selected a contractor and materials, the next step involves removing the old roof. In most cases, the existing shingles or roofing material will be stripped down to the decking. This process can take anywhere from a few hours to a couple of days, depending on the size of your home and the condition of your old roof.
After removal, the contractor will inspect the decking, which is the underlying structure that supports your roof. If the deck is in good condition, the roof installation can proceed.
However, if there are signs of rot, water damage, or weakness, the deck will need to be repaired or replaced before continuing. Ensuring the deck is solid is critical for the longevity and stability of your new roof.
Installing the Underlayment and Flashing
Before the actual roofing material is applied, the installation team will first place an underlayment over the deck. This protective layer helps prevent moisture from seeping into your home and provides an extra barrier against leaks. Depending on the type of roofing material you’ve chosen, the underlayment may consist of felt, synthetic materials, or rubberized asphalt.
Flashing is another key component that gets installed at this stage. Flashing is used around areas where water could potentially leak, such as chimneys, skylights, and vents. Properly installed flashing ensures that your roof remains watertight, even in areas prone to water intrusion. This step is crucial for preventing leaks, which can cause costly damage to your home’s structure.
Laying the Roofing Material
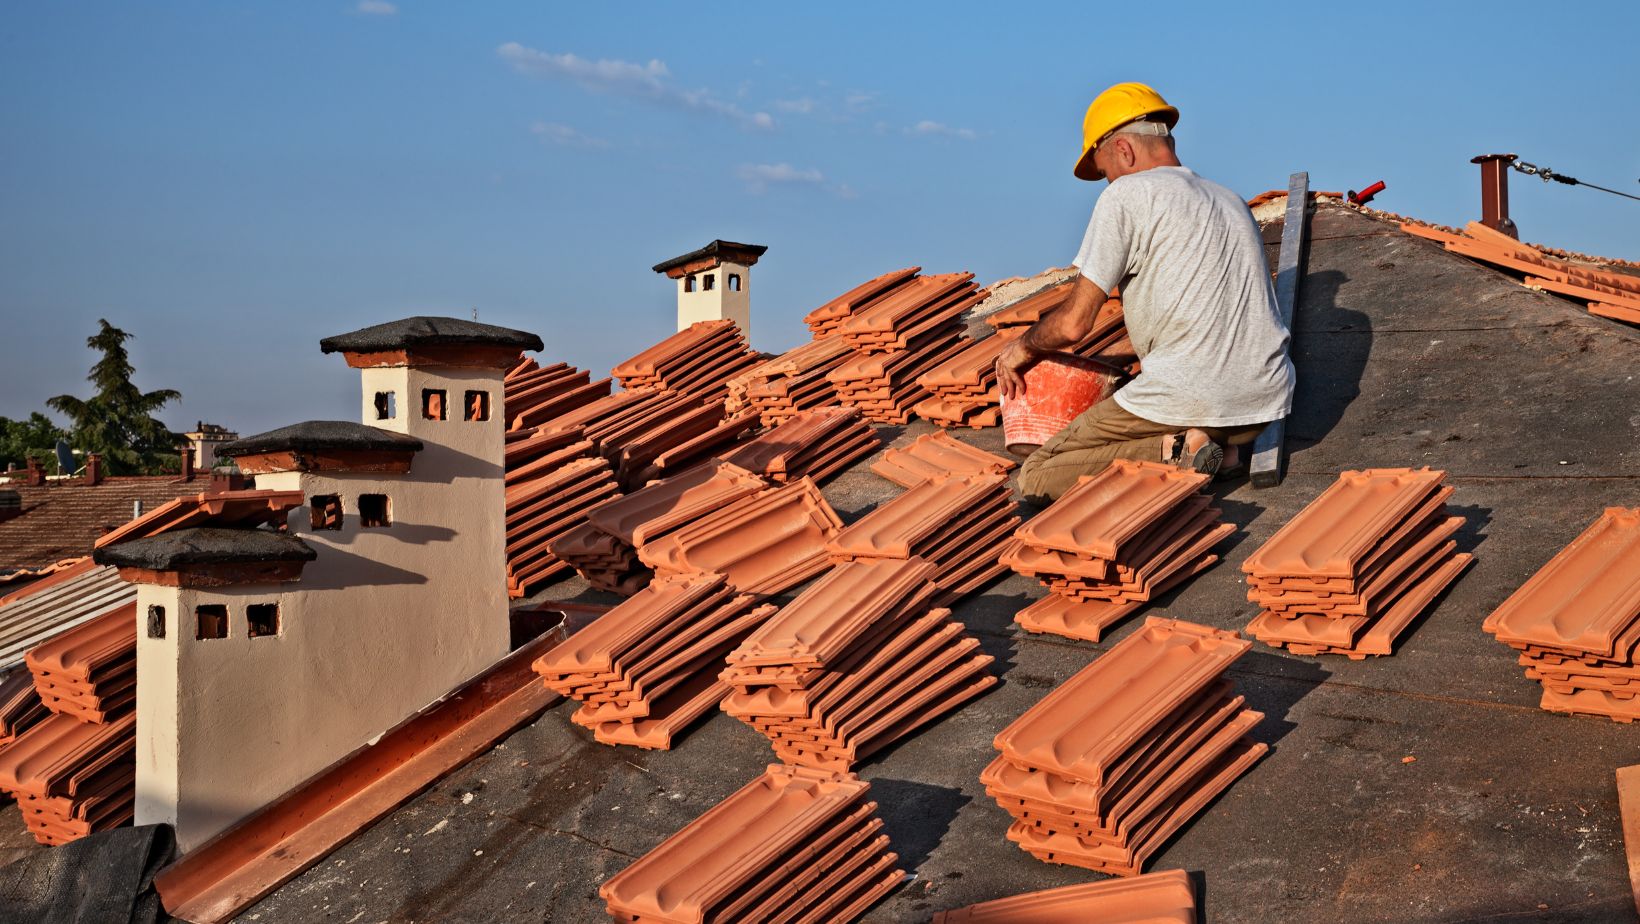
With the underlayment and flashing in place, the installation team will begin laying the new roofing material. The time this stage takes will depend on the size and complexity of your roof, as well as the type of material you’ve chosen. Asphalt shingles, for instance, are typically faster to install than tile or metal roofing, but the level of craftsmanship required for each job remains high.
During this stage, the roofing team works methodically, ensuring that each shingle, tile, or panel is laid correctly to create a uniform, durable surface. Precision is key to ensuring that your roof is both aesthetically pleasing and structurally sound. Proper alignment and overlapping techniques are essential to protect your home from wind, rain, and other environmental factors.
Cleanup and Disposal of Old Materials
Once the new roof has been installed, the next step is cleanup. Roof installations can generate a lot of debris, including old shingles, nails, and packaging materials. A professional roofing contractor will handle the disposal of all these materials, leaving your property clean and free of hazards. It’s common for the team to use a large magnet to pick up stray nails that may have fallen into your yard or driveway during the installation process.
This stage may also involve the installation of new gutters or downspouts, depending on your contract. Ensuring proper drainage is essential for protecting your roof and home from water damage in the long term.
Final Inspection and Warranty
The last step of roof installation is a final inspection, which ensures that everything has been completed to code and according to the contract. Your roofing contractor should walk you through the work that’s been done, pointing out any areas of interest or concern. They will also confirm that the underlayment, flashing, and roofing material have all been installed correctly.
This is also the time to review the warranty information provided by the manufacturer and contractor. Most new roofs come with a warranty that covers both materials and labor for a specific period. It’s important to understand what is covered under the warranty and how to properly maintain your roof to keep the warranty valid.
A roof installation is a significant investment, but by understanding the process, you can feel confident that the project is in good hands. From choosing the right materials to the final inspection, each stage plays a crucial role in ensuring the durability and longevity of your roof. Working with an experienced contractor guarantees that your new roof will not only enhance the beauty of your home but also provide reliable protection for years to come.
More Stories
Maximizing Space and Functionality: The Ultimate Guide to Garage Building
The Importance of Quality Siding in MA
The Impact of Automated Window Treatments on Modern Home Design