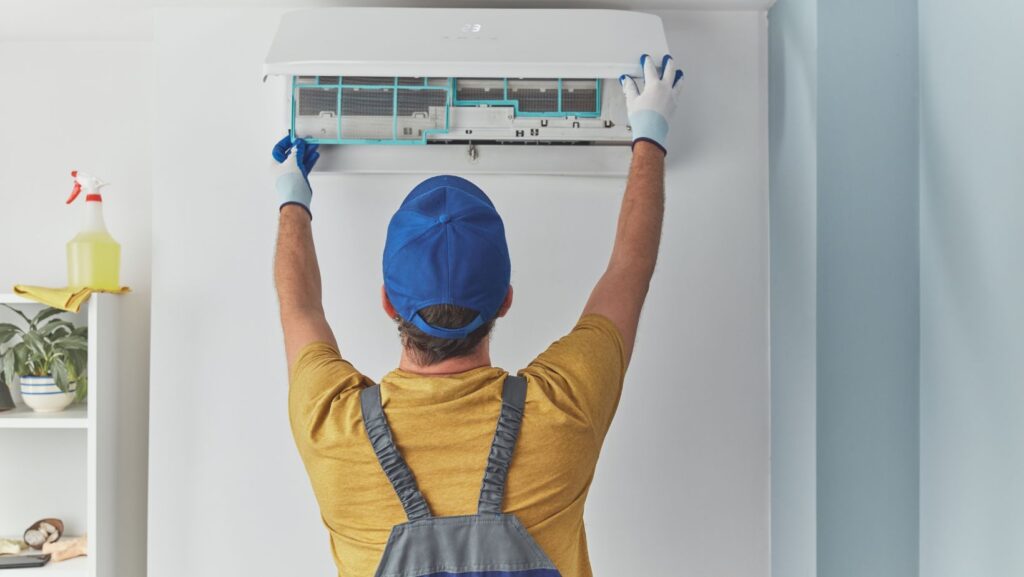
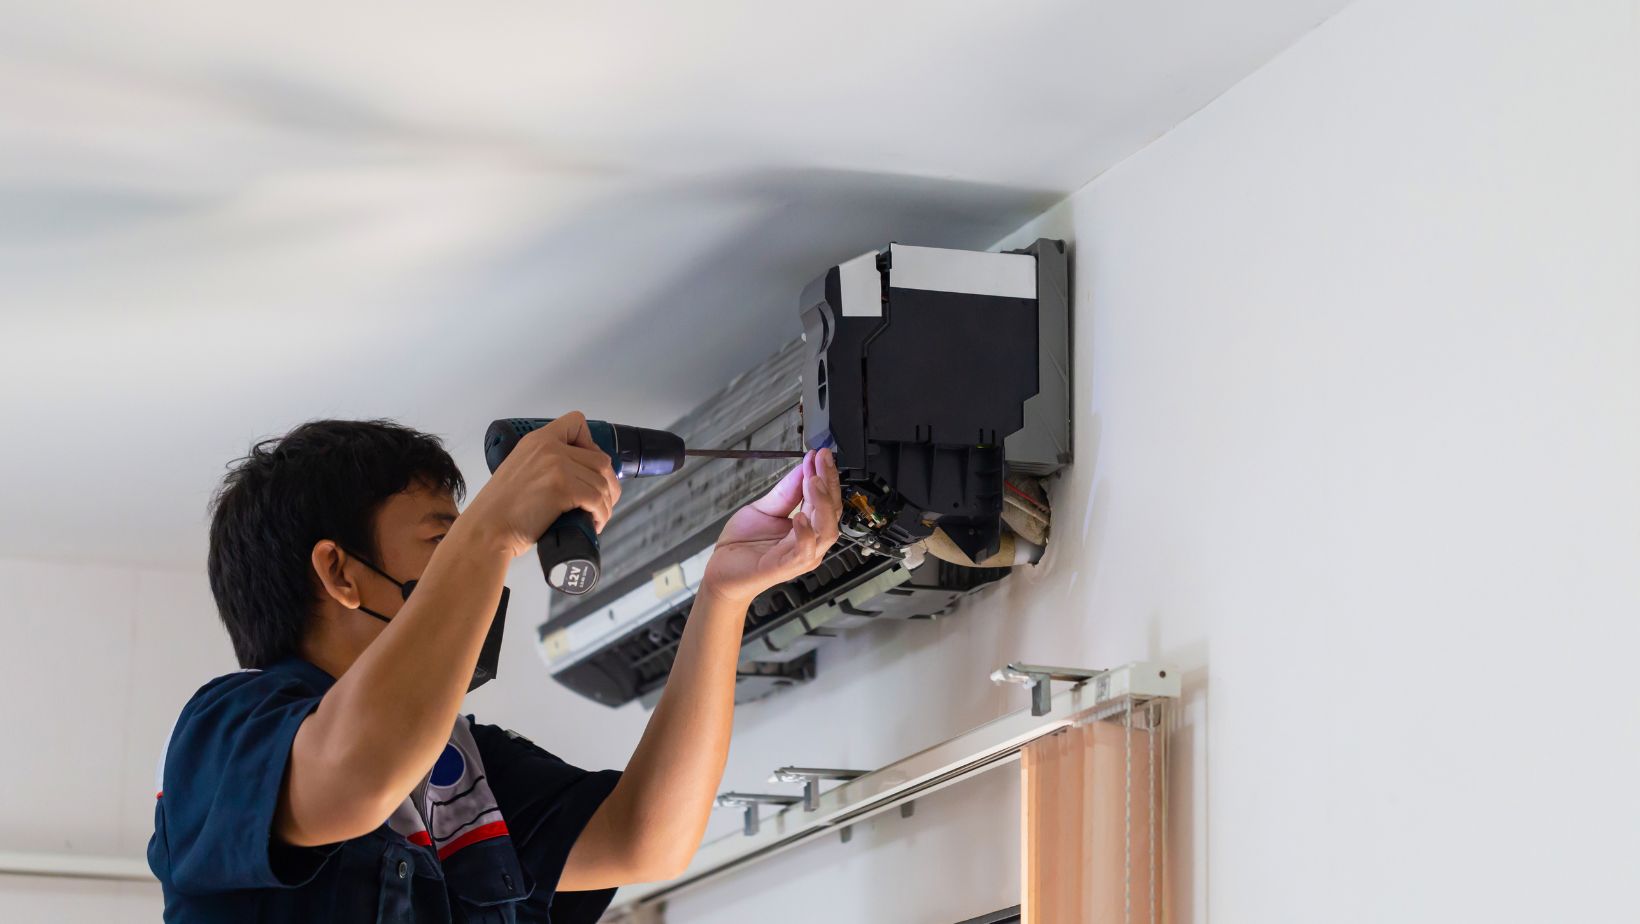
Installing a new air conditioning system is essential to keeping your home comfortable, especially during the warmer months. Whether your existing unit has run its course or you’re seeking an upgrade for better energy efficiency, preparing for installation is key to ensuring everything goes smoothly. Here’s what you need to know to prepare your home for your new AC installation.
And if you’re looking for reliable AC installation in Mohave County, this team of professionals ensures your new system is set up effectively and efficiently. Follow this guide to ensure you’re fully prepared before installation day.
Assess Your Current System and Needs
Determine Why You’re Replacing Or Upgrading Your System
Before starting the installation process, take a moment to evaluate why you need a new air conditioning unit. Is your current system outdated and inefficient? Are you dealing with frequent repairs or escalating energy bills? Identifying the shortcomings of your current system will help you communicate your needs to the installation team and choose a unit that meets your specific requirements.
Evaluate Your Home’s Cooling Requirements
An air conditioner’s cooling power is measured in BTUs or British Thermal Units, and choosing the appropriate size for your home is essential for efficient performance. Factors like the size of your home, the number of windows, insulation quality, and the regional climate all contribute to determining the ideal system size. A professional technician can perform a detailed load calculation to recommend the best option for your home.
Clear The Installation Area
Choose The Location For Your New Unit
Many homeowners replace an old AC system with a new one in the same location, but it’s worth confirming with your technician whether this is the best spot. For optimal performance, the outdoor compressor unit should be placed in a shaded area with adequate space for airflow. Similarly, indoor equipment like air handlers should be installed in easily accessible spaces.
Clear The Area Of Obstructions
Once the installation location is confirmed, ensure indoor and outdoor areas are free of debris, furniture, and other obstructions. This means trimming overgrown grass and bushes for outdoor units and clearing away any tools, toys, or equipment. Clear out closets, attics, or basements where the components will be installed for indoor systems. A clean, clutter-free area streamlines the installer’s work and ensures a smooth process.
Communicate With Your Installation Team
Confirm Installation Details Ahead Of Time
Before installation day, confirm every detail with your technician or the company. Discuss the timeline, the installation process, and whether any additional updates to your HVAC system (like ductwork upgrades) will be needed. This is also a good time to ask about warranties for the unit and the installation work.
Prepare Questions About Maintenance And Use
The installation process is a good opportunity to learn about your new system. Prepare a list of questions for your technician about operating the unit effectively, recommended maintenance schedules, and tips to maximize energy efficiency.
Plan For Additional Upgrades Or Ductwork Changes
Address Ductwork Needs
If your home has existing ductwork, it must be in good condition before the new system is installed. If your ducts have leaks or aren’t well insulated, your air conditioner won’t run as efficiently, which can drive up energy bills. Your installation technician can examine your ductwork and recommend repairs or upgrades.
Consider Energy-Efficient Add-Ons
When installing a new air conditioning system, it might be the perfect time to invest in energy-efficient upgrades. Options like programmable thermostats, zoning systems, or additional insulation can enhance the performance of your new unit and lead to long-term savings on your energy bills.
Notify Your Family And Neighbors
Inform Family Members About The Process
Ensure everyone in your household knows when and where the installation will occur. This minimizes disruption and ensures nobody is in the way of the technicians as they work. If you have young children or pets, arrange for them to be away from the installation areas to avoid accidents.
Provide A Heads-Up To Your Neighbors
If you live near your neighbors, give them a heads-up about the installation process. The work can be noisy, especially when removing the old unit and placing the new system. A simple notice prevents any potential disputes and fosters good relations.
Inspect The System Post-Installation
Walk Through The Unit With Your Technician
Once the installation is complete, take the time to inspect the system with your technician. They should walk you through the components, explain how the system operates, and ensure it’s functioning as intended. This is the best time to bring up any immediate questions or concerns.
Test The System
Before the technician leaves, test the system to ensure it’s running smoothly. Check for proper airflow, cooling performance, and noise levels. Ensure that all controls and thermostats are working correctly and that there are no visible signs of leaks or damage.
Conclusion
Installing a new air conditioning system can seem daunting, but with proper preparation, you can ensure everything goes off without a hitch. By assessing your home’s needs, clearing the installation areas, and communicating effectively with your installation team, you’ll set the stage for a smooth and efficient setup.
If you’re ready to take the next step and explore professional AC installation, don’t hesitate to learn more about your options. Professional services can help you select the right unit, handle the installation precisely, and ensure your system is built to last. Start your cooling upgrade today and enjoy peace of mind, knowing your home will stay comfortable all year round.


More Stories
Inside The Park Home Run: What You Need to Know
What Should The Humidity Be Inside Your Home
What Is The Ideal Humidity Inside A Home