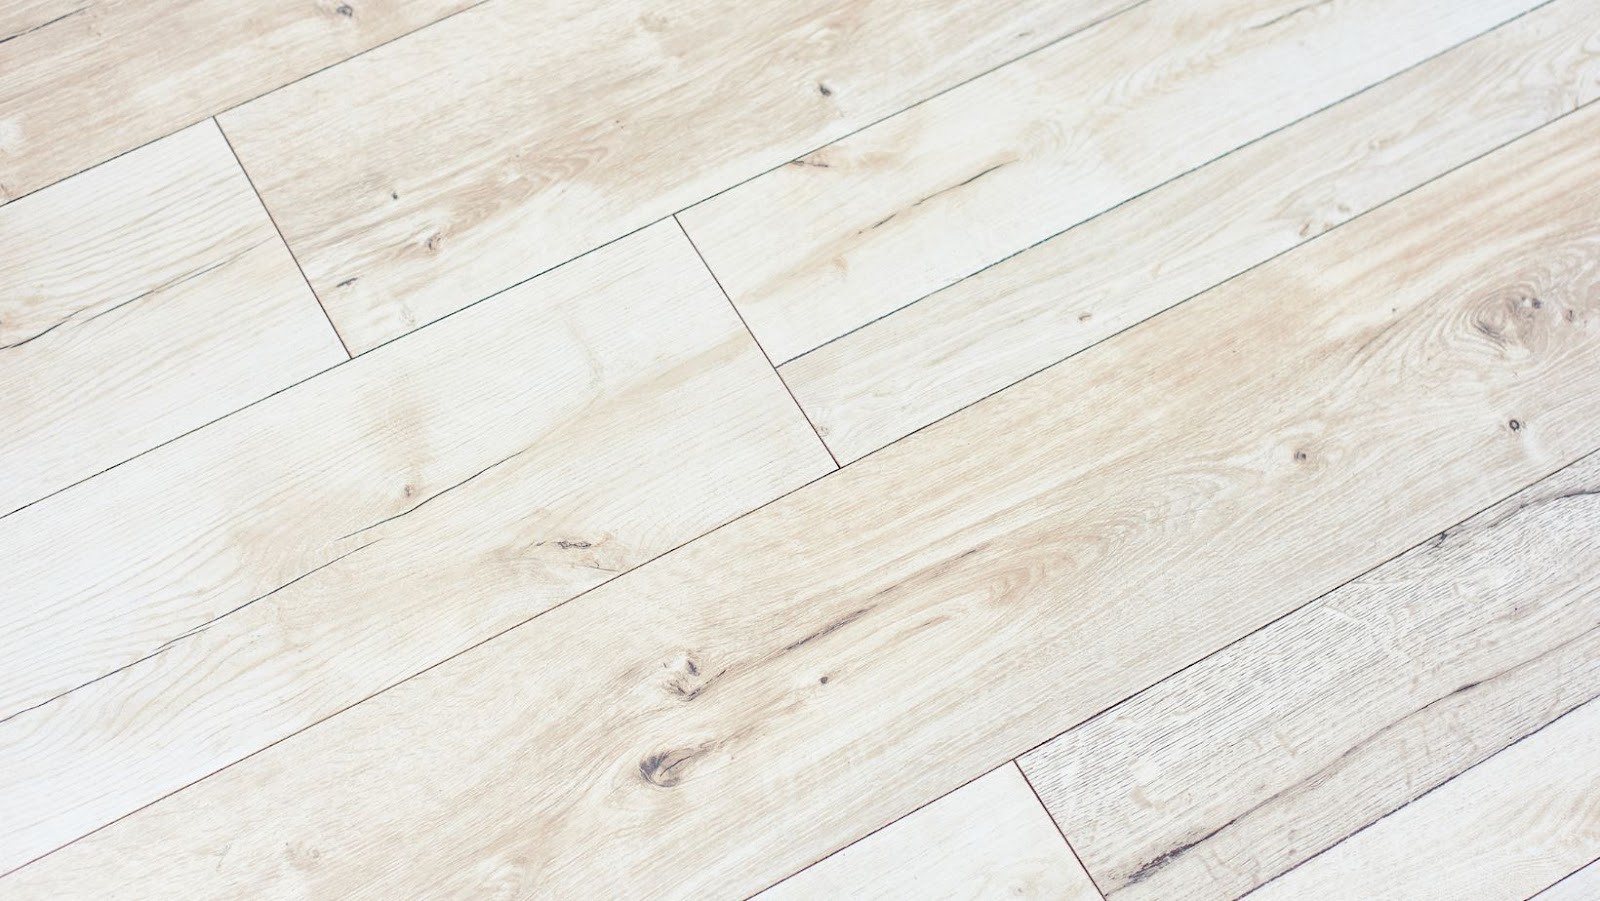
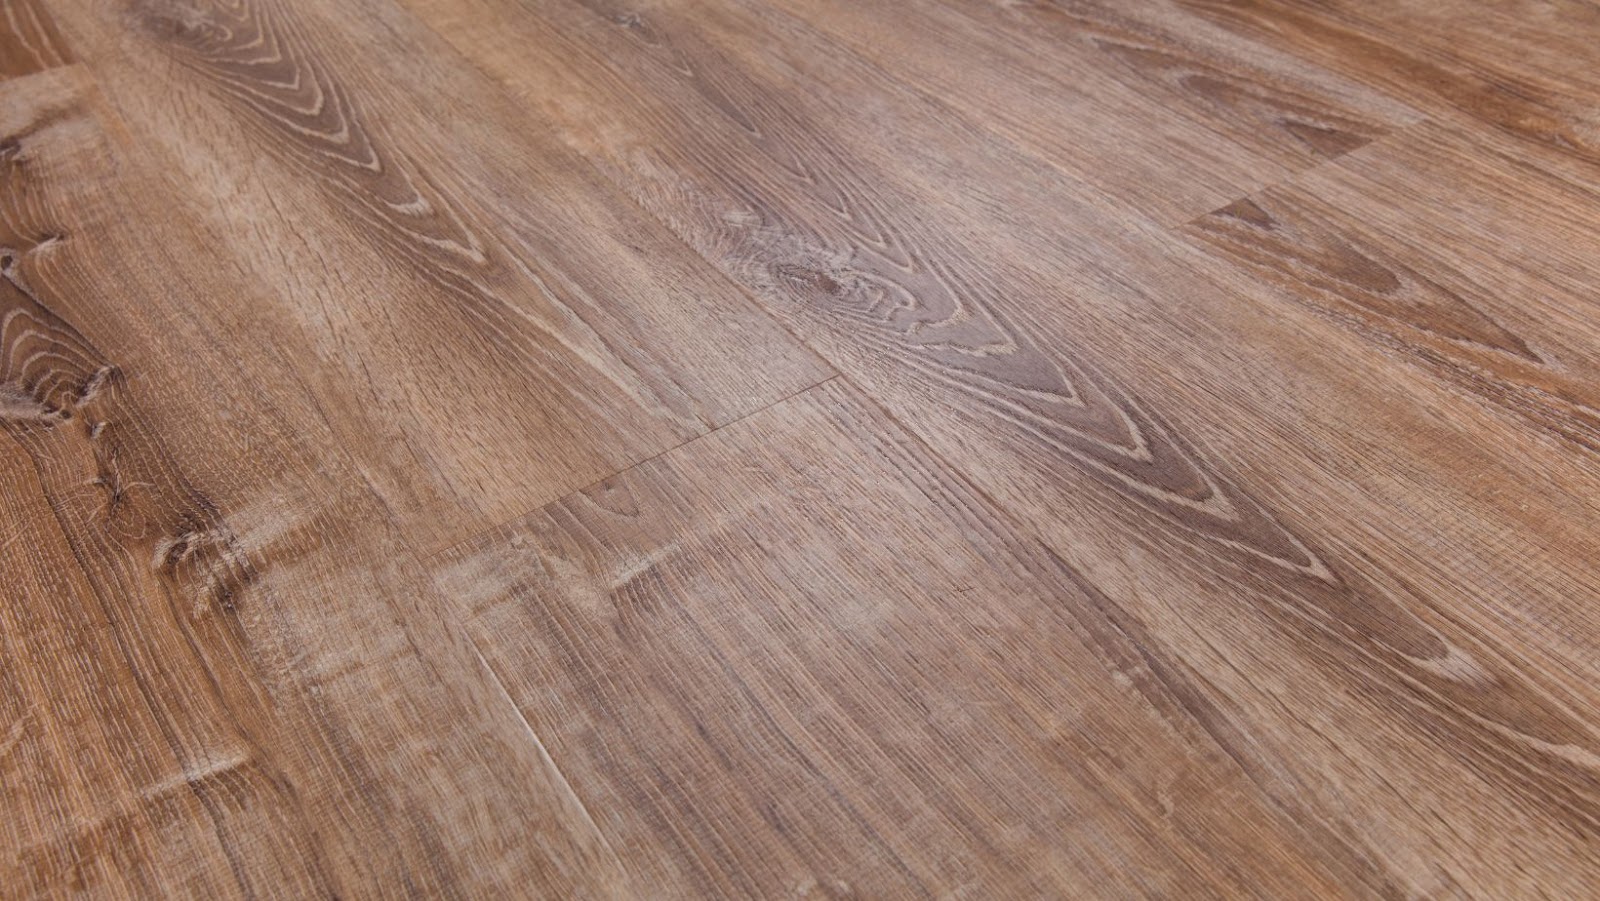
A laminate floor can be an attractive and versatile addition to your home, lasting for years with proper care. Before installation, decide on the look and direction of your flooring. Direction is important to consider before installing a laminate floor as it helps enhance the look of a room as well as improve its function.
When selecting the direction for your laminate flooring, there are several factors to keep in mind:
- First and foremost is the amount of natural light coming into a room,
- followed by the length and width of the room itself,
- Additionally, consider traffic flow or desired appearance in your home before selecting an installation pattern.
Let’s take a look at how each of these components can affect your overall decision when laying laminate flooring in any space.
Which way to lay laminate flooring
Since there are a few factors to consider when deciding the direction to lay your laminate flooring, it is important to take the time to think about each one. Some of the factors to consider include:
- The size of the room.
- The shape of the room.
- The design of the room.
- The type of laminate flooring you are using.
Let’s take a look at each one of these factors in more detail.
Room Size
The size of the room can be a significant factor to consider when deciding on the direction to lay your new laminate flooring. Larger spaces, such as living rooms, often look larger if you run the boards across, rather than along the length of the room. This makes sense because wide boards draw attention away from how long or narrow your room is.
On the other hand, smaller rooms tend to look better with boards running along their length because it creates a less cluttered feeling within and creates an optical illusion that helps make small rooms appear longer and spacious. In general, you should also consider continuing whatever direction you started in when going into adjacent areas and rooms to ensure continuity throughout your space.
Room Shape
Shape of the room is a factor that needs to be taken into account when it comes to deciding on the direction in which you should lay your laminate flooring. Generally, for rectangular shaped rooms, it is suggested that you lay the planks parallel to one of the longer walls in order to accentuate and lengthen its shape. For square shaped rooms, there will be no such difference in length, so it is up to personal preference as to which direction you decide on laying your flooring.
Laying boards along the path of a long axis can create a sense of proportion and focus within an area while laying them parallel across short walls or opposing walls could result in an interesting visual effect by creating divisions and contrasts between sections. If this is not something desired or if there are prominent messages painted or displayed on these longer walls then these should be taken into account when deciding as well.
Another thing worth considering would be whether or not your laminate flooring planks already come pre-finished with any textured details such as wood grains that could further bring out certain angles within the space depending on its orientation – if this is the case then it would more than likely beneficial for those details to be featured prominently upon installation.

Direction of Natural Light
A more subtle factor that should not be overlooked when considering laminate flooring for your home is the direction of natural light entering the area. That’s right – the sun can influence your laminate choice! When natural light enters a room, it can create an illusion of length or width, depending on which way it is pointing. You want to determine this in advance so you can install your boards in a way that accentuates that effect.
For rooms in which sunlight enters on one side, you will want to orient your laminate planks toward the light to make the room appear longer; if sunlight enters from two sides, lay your planks perpendicular to those angles to make the room appear wider. By carefully taking this into account during installation, you can give your space an added touch of sophistication and detail.
Furniture Placement
When deciding the direction in which to lay your laminate flooring, one of the primary considerations should be where and how your furniture will be arranged. The direction of the flooring should be chosen so that it is comfortable for those walking through and sitting in the room. Even though natural lighting can help determine the direction your floor should go, in some cases you may not have a choice, as furniture placement may limit your options.
You should always choose a layout that minimizes walking across planks running perpendicular to your line of sight – this is much more pleasing aesthetically and from an ergonomics point of view. If you are going to lay laminate floors parallel with windows or an exterior doorway, make sure there are at least two adjoining rooms with similar lighting conditions before doing so. This will prevent any issues with light reflection differences between rooms – making it easier to maintain a uniform look across multiple spaces.
During the installation process, ensure that cuts and seams offer adequate support for heavy pieces such as cabinets and couches by using proper techniques such as:
- overlapping end joints
- expanding foam tape where necessary.
Installation Methods
Installing laminate flooring is a great way to create a unique and stylish look in your home. It’s also relatively easy to do by yourself. One of the key decisions you need to make before starting your project is which way to lay your laminate flooring.
This heading will discuss the various installation methods and considerations to keep in mind when deciding the direction of your laminate flooring:
Parallel to the Longest Wall
Parallel to the longest wall is a popular installation choice for many homeowners, as it typically creates fewer seams and offers a more balanced look. In this method, the laminate planks are aligned in the same direction as the length of your room. You’ll need to measure the length of your room and cut any boards that don’t fit. Once all boards are installed, match up the sequential doorsill at each end of your planks as well as any A/C registers you may have in order to get an even finished look.
When it comes time to cut sections around door frames and other obstructions, use a jigsaw to get a better angle than you would with a standard handsaw. An up-and-down saw can be used for final trimming around edges or doorframes for a seamless finish.

Diagonal to the Longest Wall
When laying laminate flooring, many homeowners choose to install the flooring diagonally to the longest wall. Installing your laminate planks in this manner offers a number of benefits such as an interesting visual effect and more floor space. It also helps enhance the perception of depth when used in smaller rooms and can be used to mask slight irregularities in subflooring.
The installation process begins with measuring and estimating the total size of the room or area you wish to cover with your new laminate flooring. Ensure that any required underlayment is properly installed before beginning your project, as this will create a barrier between your new laminate planks and any potential moisture hazards present in the subfloor. Once the appropriate measurements have been taken, begin at one corner of the room furthest from a doorway and work diagonally towards the longest wall from there. This will create a directional flow that will draw attention away from any crooked planks or less-than-perfect cuts you may make while following along this angled path.
It’s important to note that depending on where your last plank is located, you may need to make some adjustments once you reach it. Trim your last plank if necessary so it fits snugly against its neighbor – spacing between two attached planks can affect not only appearance but also performance over time due to expansion or contraction caused by changes in temperature or humidity levels present inside our homes. Finally, seal any exposed edges with molding or shoe base before moving furniture back into place – congratulation on completing your project!
Perpendicular to the Longest Wall
When laying laminate flooring boards perpendicular to the longest wall in a room, care should be taken to ensure that joints are staggered. This is because the end joints are exposed between the boards and so these visible lines will create a checkerboard appearance if they are all in line with each other. By staggering them you won’t have a line of joints running down the centre of the room.
When laying laminate flooring perpendicular to the longest wall of a room, you should also ensure that an appropriate expansion space is left at both sides and at door frames. This enables your laminate boards to expand and contract due to changes in temperature and humidity without buckling or popping up. The typical expansion space for most manufacturers is 8mm – 13mm (3/8′ – 1/2′).
It’s also important to ensure that your floor surface is level before laying any planks or tiles. If your subfloor (which could be concrete or vinyl) isn’t even, then it’s best to level it out first with self-levelling compound before taking any further steps towards installation. Doing this will not only make the job easier but will also provide better long term results for your new laminate flooring when laid perpendicularly across a long wall. Finally, make sure all construction dust has been removed from surface before applying adhesive!
Conclusion
We have provided you with all the information necessary to choose which direction you should lay your laminate flooring. Depending on the look and vibe you want to create in your room, the following considerations should guide you in choosing the appropriate direction for laying your laminate flooring:
- The direction of incoming light
- Length and width of the room, hallway or other space you are covering
- Desired effect (such as a contemporary or spacious feel)
Keep in mind that if you need to make any kind of repair or maintenance after installation, it is much easier to do with planks lying in parallel lines.
For safety reasons, always check manufacturer instructions before beginning your installation project. If in doubt about any aspect of your project – from planks size and type to proper gluing technique – consult a professional.


More Stories
Why Allergy Sufferer Needs an Air Purifier at Home: Improve Your Well-Being
Minimalist Interior Design Ideas for Small Student Apartments
The Permit Advantage: How Residential Building Permits Protect Your Investment