
How to build a full over full bunk bed
Constructing a full over full bunk bed from scratch is a project that requires patience and a good plan. Before you get started, you will need to gather all the necessary materials to build your bunk bed. This could include lumber, screws, nails, and other building supplies.
Gather all your materials in a location that’s easily accessible so that you don’t have to interrupt your work. Once you’ve gathered all your materials, you can begin the process of building your bunk bed:
- Cut the wood to size.
- Assemble the frame.
- Attach the side rails.
- Install the ladder.
- Secure the slats.
- Add the mattress.
List of materials
Building a full over full bunk bed requires careful planning and the appropriate materials to ensure the final product is secure and safe for years of use. Gather these following items before you begin construction:
- Two equal length wooden boards, measuring 8 to 10 feet long and 6 inches wide
- Four wooden posts, measuring at least 3 inches in diameter, with corresponding lengths as the boards above
- Sixteen wood screws with flat heads
- Eight L-shaped angle brackets
- Hammer
- Screwdriver
- Drill & drill bits
- Measuring tape
- Jigsaw or handsaw (optional)
- Stain or paint in desired color (optional)
Tools needed
Building a full over full bunk bed is a great way to maximize the use of floor space while creating a fun, creative sleeping environment for your family or guests. To ensure that you’re able to complete your project without any problems, be sure to gather all the necessary tools and materials before you begin. Here’s a list of the basic tools you will need:
- Drill/Driver
- Cordless Screwdriver
- Circular Saw
- Hammer
- Tape Measure
- Stud Finder
- Straight Edge
- Wide Tip Marker
- Levels (24″, 48″)
- Carpenter’s Square
- Safety Gear (eye protection, ear protection)
- Cordless or Corded Drill Bits (various sizes)
- Drill Bit Extension / Flexible Drive Extension
- Countersink Bit
Assemble the Frame
Building a full over full bunk bed can be a great way to make the most of the space in a bedroom. The first step is to assemble the frame, and with the right tools and materials, this can be done in a relatively short period of time. Before you get started, make sure to have all the necessary parts and tools available to complete the job. With this in mind, let’s take a look at how to build a full over full bunk bed by assembling the frame:
- Gather the necessary materials and tools.
- Lay out the frame parts on a flat surface.
- Attach the side rails to the head and foot boards.
- Secure the boards with screws.
- Add the ladder rails to the frame.
- Attach the ladder to the rails.
- Secure the ladder with screws.
- Add the mattress supports.
- Secure the supports with screws.
- Add the mattresses.
Cut the boards for the frame
Before beginning the assembly process, you will need to cut the boards for the frame of the bunk bed. Most full over full bunk bed frames require 13 pieces of wood in total; 8 sides, 2 long and 4 short plus 3 cross braces. Make sure that all boards are cut to the same length before making any connections.
Use a circular saw or jigsaw to make all cuts and ensure accuracy by double-checking your measurements. Depending on the type of wood being used and its size, you may need to make custom cuts with a handsaw or power saw, such as a miter saw or chop saw. The goal is to have uniform, straight cuts so take your time when measuring and be sure each board is cut properly before proceeding with assembly.
Assemble the frame
Assembling the frame of a full over full bunk bed is an easy process with the right tools. First, gather all necessary materials needed for the frame, including 4 legs, 2 side rails, 2 end rails, 6 bed slats and 6 wood screws.
Once the materials have been gathered and checked off against the instructions provided from your manufacturer, it is time to start assembling.
Begin by laying out the individual pieces on a flat surface. Take each leg piece and screw into lifting plates that are located on each end rail using wood screws provided with your purchase. Once all 4 legs have been attached to both end rails move on to screwing in the side rails using additional wood screws at opposite sides of each leg piece.
Next begin attaching wooden slats ready for a mattress by measuring 7-inch intervals between them and screwing them in along both sides of the bunk beds frame. Once all slats have been attached use bolts to attach remaining two head boards at opposite ends of side rails making certain that they fit flush against one another creating a snug joint when joined completely together as one. Finally check again to make sure all bolts and screws are tightened securely before adding mattresses and other items onto your newly completed full over full bunk bed frame!
Attach the Slats
Constructing a full over full bunk bed requires a few tools and materials, as well as some skill in carpentry and assembly. After you’ve cut and assembled the frames and side rails, it’s time to attach the slats. These will provide the foundation for mattresses and hold up the weight of the people sleeping in the bunk bed. This step is important in order to ensure the bed is stable and secure.
Cut the slats
Once you have all of the pieces cut to size, it is time to start assembling the bunk bed. Start with the headboard and footboard, these will attach directly to the vertical pillars. Then assemble one side of the bed first. Use two screws per slat and two screws in each corner stop on either end of the side assembly. Make sure that all heads are on the underside of any slats and are countersunk so they do not protrude out and damage bedding, clothing or skin.
For safety, make sure all screws are firmly tightened as this will keep your bunks from wobbling during use. Next repeat this process for the second side of your bunk bed assembly.
Attach the slats
Before attaching the slats to the bunk bed frame, check for even spacing between the rails. If there is an issue, adjust the posts and make sure that they are at equal intervals before continuing with assembly.
Begin by lying one of the slats down on a flat surface and measuring from one end to the other with a tape measure. Once you have marked this measurement on all of your slats, you will be ready to attach them to your bunk bed frame.
Using 2-inch wood screws, begin attaching your first slat at the head of the bed frame and then move down to attach each remaining slat approximately two inches below it until you reach the foot of the bed frame. When finished, you should have a uniform ladder step pattern attached along both sides of your bunk bed frame as well as along both sides of your ladder itself.
You may need an extra length board at either end to ensure stability when joining parts together if needed. Make sure that all screws are tight in order for this project to be successful and safe for use!
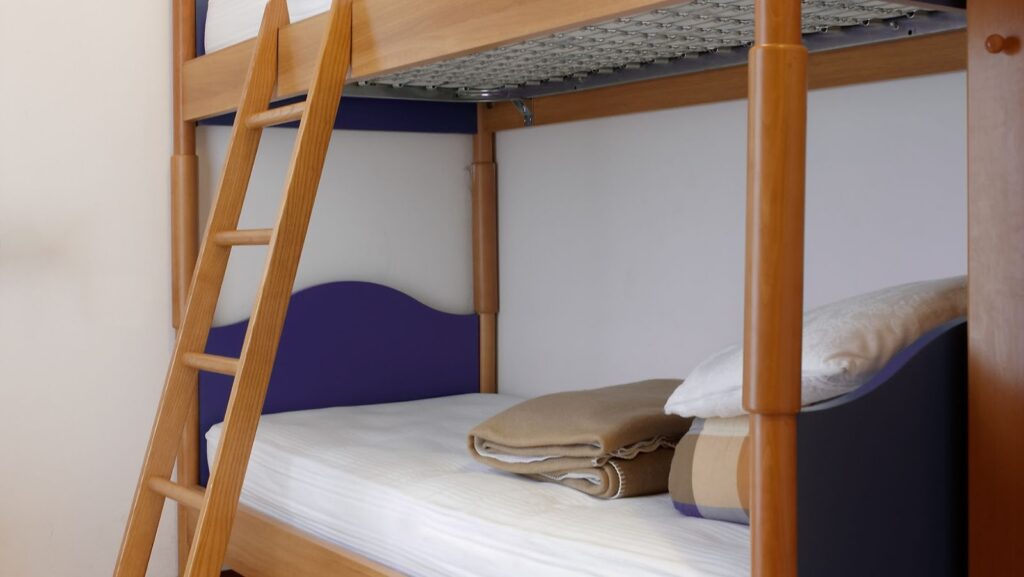
Attach the Ladder
If you want to build your own full over full bunk bed, the ladder is a critical component. Attaching the ladder correctly is important for your own safety, as well as the safety of any children who may use the bunk bed.
In this article, we’ll look at some tips for building and attaching the ladder for your full over full bunk bed:
Cut the boards for the ladder
Before cutting the boards for the ladder, measure the width of the bed and calculate measurements for your ladder. Make sure you have enough length to reach the top bunk safely and securely, while also allowing room between the rails of both bunks. The typical width between bunk railings is 40 inches, but double-check to make sure they are within this range.
So based on our example, let’s cut four 2×4 pieces to a length of 66 inches (66”) each as these will be used as rungs/steps on our ladder. If desired, you can customize your ladder by cutting different shaped steps with a jigsaw or miter saw for extra security. Once your pieces are cut, sand them down with medium grit paper (80 to 120 grit). Now that all your pieces are prepared and sanded, it’s time to assemble the ladder!
Assemble the ladder
Once you have all the necessary parts for your full over full bunk bed, it’s time to start assembling the ladder. This is an important step and needs to be done correctly if you want the bunk bed to stay safe for use. Here are a few steps to help you assemble the ladder:
- Start by connecting each rung of your ladder one at a time. Use simple 4x4s with large lag screws to secure them in place. Use enough screws so that they’re held firmly in place, but not so many that they interfere with each other’s movement.
- Place both sides of the ladder against each other and double-check that all gaps are even between them, meaning there should be no gaps or gaps larger than 2 inches between either side of the ladder rungs when you’re done attaching them.
- If your bunk bed has drawers built into it, attach those now before continuing on with the assembly process so that they’re out of the way and secure while working on other parts of the frame.
- After all pieces are connected, use a drill to add additional screws where needed for extra security if needed and then use glue or resin if desired as extra precautionary measure for further securing your ladder in place before it gets installed onto your bunk bed frame.
- Lastly, attach your assembled ladder onto your bunk bed frame using lag screws from underneath (through from bottom up). Make sure that it is attached tightly and securely to avoid any potential safety issues which could occur from inadequate connection on either side of ladders attachment points on frame when weight gets applied during usage of low weight distribution across top bunk area— potentially causing instability caused by inadequate attachment points at either ends after repeated usage over time due weakening may become due excessive stress applied onto each ends resulting in loosening/unsecure connection over time due inevitable norm an amount wear & tear leading laden with risk individuals/children using top set safely as lower than designed constraint without safety pass fail signifying acceptable minimal threshold stated clearly outlined product manual instructions guidelines provided manufacturer listed product both contained manual instructions warranty provided details given purchase receipt viewed upon inspection product ensure material meets standard quality expected through testing various means results consumer piece mind assured respective product desired meets specified written requirements representations contained offered sale given communication shared past printed publications/ websites/ promotional materials online reflect consumer understand expectations item above mentioned certainly case carefully read terms conditions agreements these before purchasing/finalizing respectively related items & services discussed herein throughout document hereafter forth considered part two whole & equal prominent enforceable entirety.

Finishing Touches
After completing the main structure for your full over full bunk bed, it’s now time to add the finishing touches! This is a crucial and often overlooked step in the process of building a bunk bed. These details will be the difference between a functional bunk bed and a stylish, attractive piece of furniture.
In this article, we’ll go over how to put on the finishing touches to make your full over full bunk bed look as polished as possible:
Sand and paint the bunk bed
Once your full over full bunk bed is fully assembled, sand it with a medium grit sandpaper. This step helps to remove any imperfections and smooth the surface for the best possible result. You may also choose to fill any nail holes or other imperfections with wood filler, such as a paintable wood filler.
Once the bed is thoroughly sanded, it’s time to begin painting. It’s best to use a high-quality paint that is resistant to scratches and washing, such as oil-based enamel or acrylic latex paint. Be sure to wash the surface of the bunk bed with mild soap and water before applying your chosen primer and then allow it to dry completely before begin painting. Let each layer of paint completely dry before beginning the next one for optimal results.
To give your bunk bed an extra level of protection from wear and tear, you can apply a polyurethane topcoat after painting it. This will help keep its finish looking better for longer.
Attach safety rails
The last step in constructing a full over full bunk bed is to attach the headboard, footboard and safety rails. As with the other steps, assembling these components properly is essential for ensuring stability and safety. We recommend having an assistant hold the sides in place while you secure them with screws or L-brackets.
Begin by laying the headboard and footboard flat on the floor and connecting them with a set of sturdy locking bolts using your electric drill. Once they are securely connected you can move onto the two outermost sides, then the others. For added stability use support straps to connect them from top to bottom.
To ensure that all children who use the bunk bed are safe, install guards or rails on either side of any top bunk – these are usually affixed at or near mattress level for maximum safety effectiveness. The guard rails should be constructed from durable material such as metal or wood and will prevent accidental roll out of mattresses during sleep time for those sleeping on top beds. If your model comes with pre-made guard rails, simply connect them as per manufacturer’s instructions; if not, mount panels according to your chosen design on either side of bed posts using your electric drill and a screwdriver. As always exercise caution when using tools!
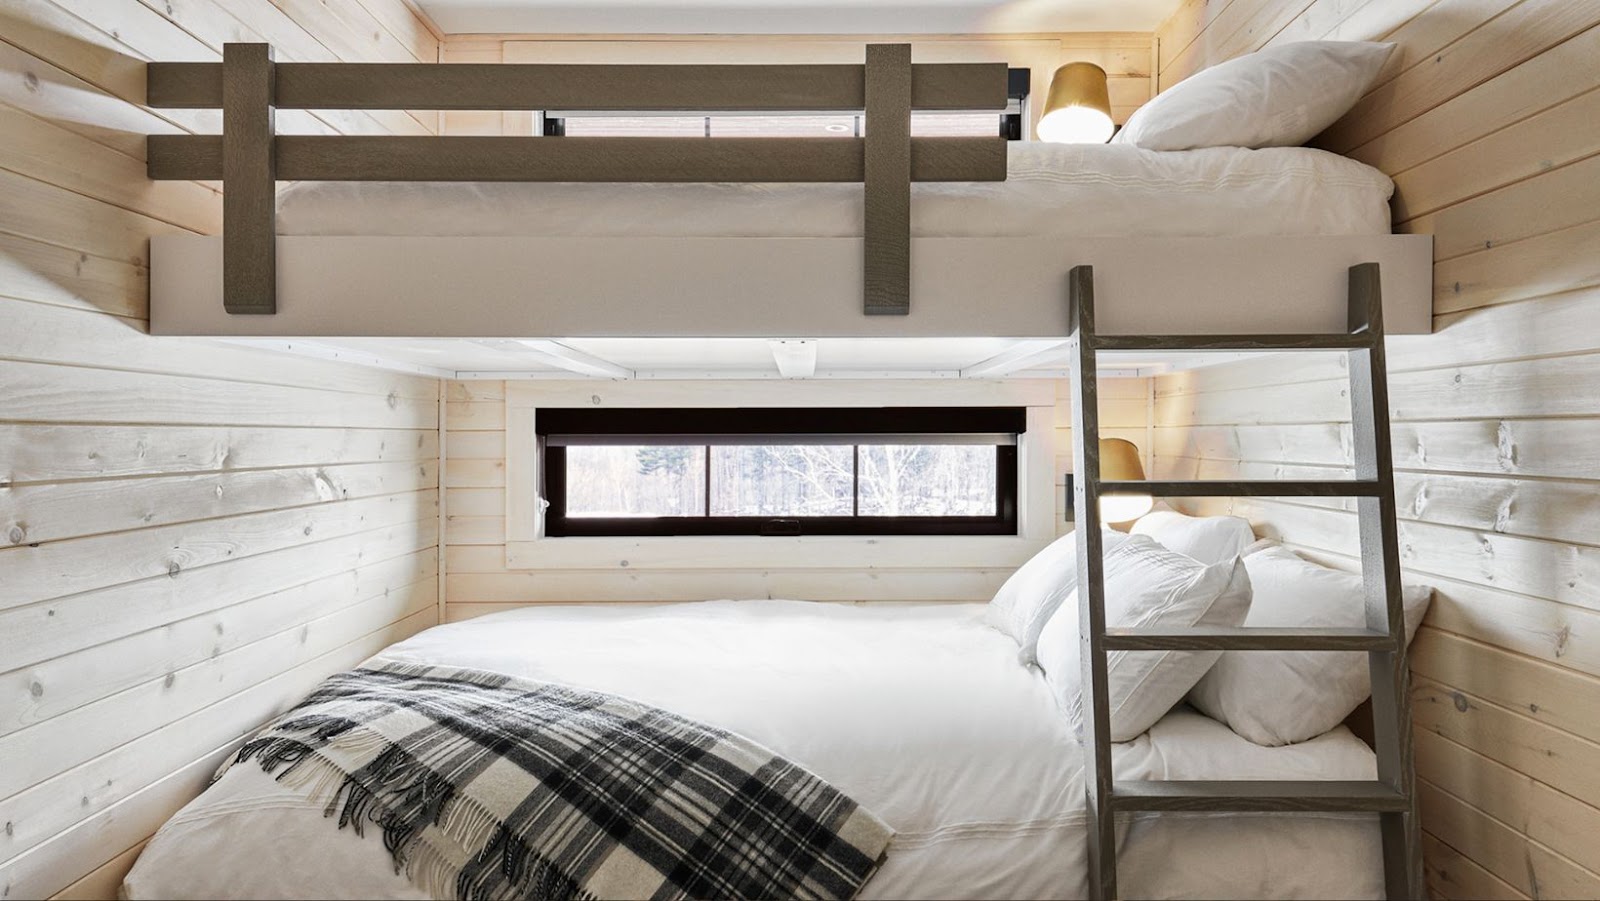
Add mattress and bedding
Now that you have your bunk bed frame built, it’s time for the finishing touches. Adding a mattress and bedding is the final step before you have a beautiful, functional bunk bed.
For most full over full bunk beds, the ideal mattress size is 54 inches x 75 inches (Twin XL). Even though Twin XL mattresses have the same width as traditional twin mattresses, they are longer by five inches which allows them to fit into full over full bunk beds with ease. If possible, opt for thinner mattresses to maximize headroom and reduce the risk of gaps near walls or guardrails due to bulky mattress profiles. Make sure you double-check what size of mattress your model can accommodate before purchasing one.
When it comes to bedding, traditional twin-sized options like sheets and blankets can fit right onto the Twin XL size mattresses without any difficulty—but pillow length may be an issue if using standard pillows. To resolve this issue, either use standard pillowcases with king-sized pillows or opt for specially designed ‘bunkie’ pillows that are available in a variety of sizes to provide just enough cushioning without taking up unnecessary space in bunk beds.
In addition to these practical choices, make sure to add personal touches such as comforters and quilts that reflect your style preference.
More Stories
Revamping Kitchens into High-Performance Spaces
5 Home Upgrades and Improvements with Exceptional ROI
The Benefits of Hiring a Professional Siding Contractor in Madison, WI