Laminate flooring is an ideal choice for many homeowners who want a trendy and natural-looking style of flooring while avoiding some of the costs and maintenance associated with hardwood, laminate floors offer heat resistance, durable construction, easy installation and attractiveness in a variety of styles. However, since laminate flooring has only been on the market for about 20 years, so there’s still plenty to learn about it.
This guide is designed to troubleshoot common problems with laminate flooring, from moisture damage to high foot traffic.
This guide is an introduction to the basics of laminate flooring care organization. It provides instructions on how to choose the right product for your room design and specific considerations when installing it yourself versus hiring a professional installer. The guide includes information on problem-causing factors that can apply regardless of if you have installed it yourself or hired a professional installers such as foot traffic wear, high humidity levels and improper cleaning methods.
In addition, a section that focuses on copping you common repairs such as replacing single planks or repairing water damage is also included in this comprehensive guide. Finally there are even specific tips that focus on ways to prevent future issues related to moisture content while keeping your new floor looking its absolute best over time!
How to fix water damaged laminate flooring
Having an issue with your laminate flooring? You are not alone. Laminate flooring is a popular choice for homeowners, but like any type of flooring, you may experience some issues from time to time. This article will help you understand some common laminate flooring problems and how to troubleshoot them. Whether it is water damage, scratches, or fading, this guide can help you get your floor looking good as new.
Water Damage
Water damage from spills or exposure to moisture is a common problem with laminate flooring. When this has occurred, it affects the entire plank and cannot simply be patched. Problems like warping, cupping, and buckling may appear if water penetrates the core of the laminate flooring and begins to swell and expand. If left untreated for too long or treated incorrectly, the water damage can cause irreparable harm to a laminate floor.
To prevent water damage, immediate action must be taken when spills occur. Blot up any liquid right away to avoid seepage into deeper layers of the plank. The room should also be monitored for relative humidity fluctuations that might encourage moisture buildup in undefined areas of the laminate floors.
At home maintenance should also include:
- Regular sweeping and vacuuming
- Mopping on occasion when spots need to be addressed specifically.
Warping
Warping occurs when your laminate flooring is exposed to too much moisture or humidity, the planks can swell and warp, freezing the locking mechanism in place. Warping often occurs when there has been a slow leak, such as a water line break in another room or an overflowing sink that has damaged other rooms in your home. Warping can also occur if you do not clean up spills promptly and keep the floor dry.
When laminate flooring warps, you may experience a variety of issues including:
- Buckling or warping
- Sticking of adjacent planks
- Clicking sounds underfoot as you walk across the floor
- Difficulty with installing new pieces
One way to check if your laminate floor is affected by warping is to look for signs of moisture on the underside or back side of yourl aminate boards. If you have checked for signs of water and are unsure if there may be an underlying issue with your laminate floors, it’s best to consult a professional for assistance resolve any discrepancies or issues with proper maintenance and repair.
Discoloration
Discoloration of your laminate floor is one of the most common issues people encounter when it comes to laminate flooring. The discoloration can be caused by a few factors, including improper installation, UV exposure, and mildew or mold growth. Fortunately, regardless of the cause of the discoloration, the good news is that it’s easily remedied.
For laminate flooring that has been improperly installed or subject to too much moisture due to flooding or high humidity levels over time, cleaning with a mild soap solution should remove any dirt and grime that causes discolorations. If you are dealing with UV exposure causing fading over time, adding area rugs and applying window treatments can help protect your floors from future UV damage. Lastly, any mildew or mold growth should immediately be addressed before it causes further damage to the flooring itself. Applying an anti-fungal cleaner is best for getting rid of problem areas quickly and effectively.
Troubleshooting Water Damage
Water damage is one of the most common problems that homeowners can experience with their laminate flooring. There are many potential causes for water damage such as damage from flooding, leaky plumbing, or even a broken appliance in your kitchen. Knowing how to address water damage and make repairs can help you save time, money, and frustration when it comes to fixing your laminate flooring.
Let’s take a look at some of the most common water damage problems and how to troubleshoot them:

Remove all standing water
Removing all standing water is the first and most important step in reducing the damage caused by water seeping into laminate flooring. Use a towel or mop to remove as much of the moisture from the affected area as possible. Then, use a wet/dry vacuum to remove any remaining water and any dirt that may have accumulated from various sources.
If you are unable to clean up all the water yourself, call a professional for assistance. Be sure to thoroughly dry out your floors afterwards to restore them back to their original condition.
Dry the floor
When water damage occurs, the affected area should be dried quickly to minimize long-term damage and costly repairs. Laminate flooring absorbs moisture and can become warped if not dried properly.
In order to dry the laminate flooring, use large fans to circulate air around the affected area, while small fans can help direct airflow through narrow spaces. Dehumidifiers should be used to reduce moisture in the air and speed up drying time. Once the laminate is dry, look for signs of swelling or warping in order to determine whether further action needs to be taken.
If swelling or warping is visible, use a rubber mallet or hammer and a wood block in order to gently tap down any raised planks or boards. In extreme cases, it may be necessary to replace some of the planks due to excessive damage caused by prolonged exposure to water. If replacements are needed, always use planks from the same lot number in order for them match perfectly with existing planks on the laminate flooring.
Replace damaged boards
If you’ve noticed a few boards that are damaged and buckling due to water damage, then it’s probably time to replace them. Replacing the damaged boards will help prevent further buckling or warping in the future.
To replace a damaged board of laminate flooring, start by using a utility knife, razor blade, or circular saw to cut out the damaged section, making sure that you cut all of the way through the board, including any underlayment. Once you have removed the damaged board, pry up the other boards around it so that you can slide in a new board in its place. Make sure that the new board is securely fitted into place before hammering down boards around it. Be sure not to hammer or hammer too hard as this can cause damage to adjacent pieces. Finish up by applying adhesive with a trowel if necessary for extra security and allow everything to dry before walking on it again.
Troubleshooting Warping
Warping is one of the most common problems that can occur with laminate flooring. It is caused when moisture or water seeps in between the planks, causing them to swell and warp. Warping can be caused by a number of things, including spills, plumbing issues, or even high humidity.
In this section, we will explore the steps you can take to fix warped laminate flooring:
Identify the source of moisture
When dealing with laminate floor warping, the first step is to identify the cause of the moisture. Often, the source of moisture is located underneath the laminate floor and may be from outside sources such as a kitchen sink or a bathroom shower or bathtub. It can also be from inside sources such as a wet pet or liquid spilled on your laminate. In some cases, if you are experiencing long-term warping, it might be due to an interior humidity issue caused by using a humidifier in your home during winter months.
Once you have identified the source of moisture, it’s important to make sure it is addressed. The standard rule of thumb is that any area underneath a laminate floor should not have more than 4% relative humidity. Use a hygrometer to measure humidity in floors and take appropriate steps to reduce it if necessary, like using a dehumidifier in interior spaces or sealing exterior walls with specialized membrane barriers to prevent water vapor from entering indoors. Additionally, make sure any exterior drainage issues leading to your home are repaired so that no excessive moisture is leaking inside due to these issues.
Finally, check for plumbing leaks around sinks and washer hoses which could be causing an untimely build-up of water near your floors and use appropriate sealants where warranted in order to prevent any further leakage into adjacent areas.

Replace any warped boards
When laminate flooring boards become warped, it’s often due to an issue with the installation or the environment. Before replacing any boards, identify and repair the problem to ensure that it does not happen again.
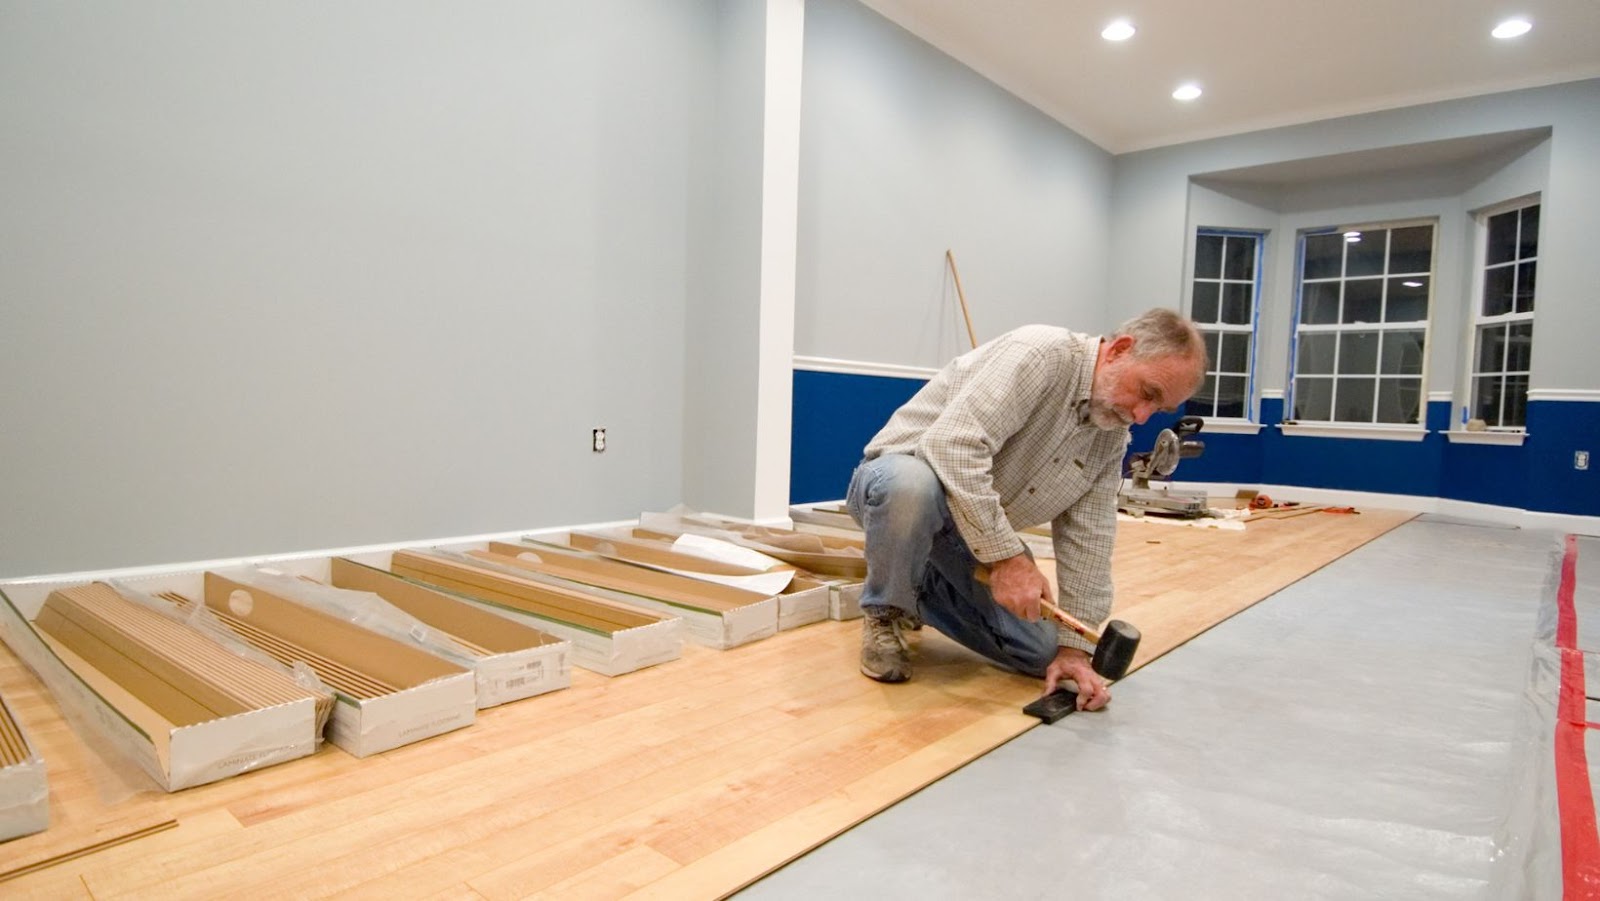
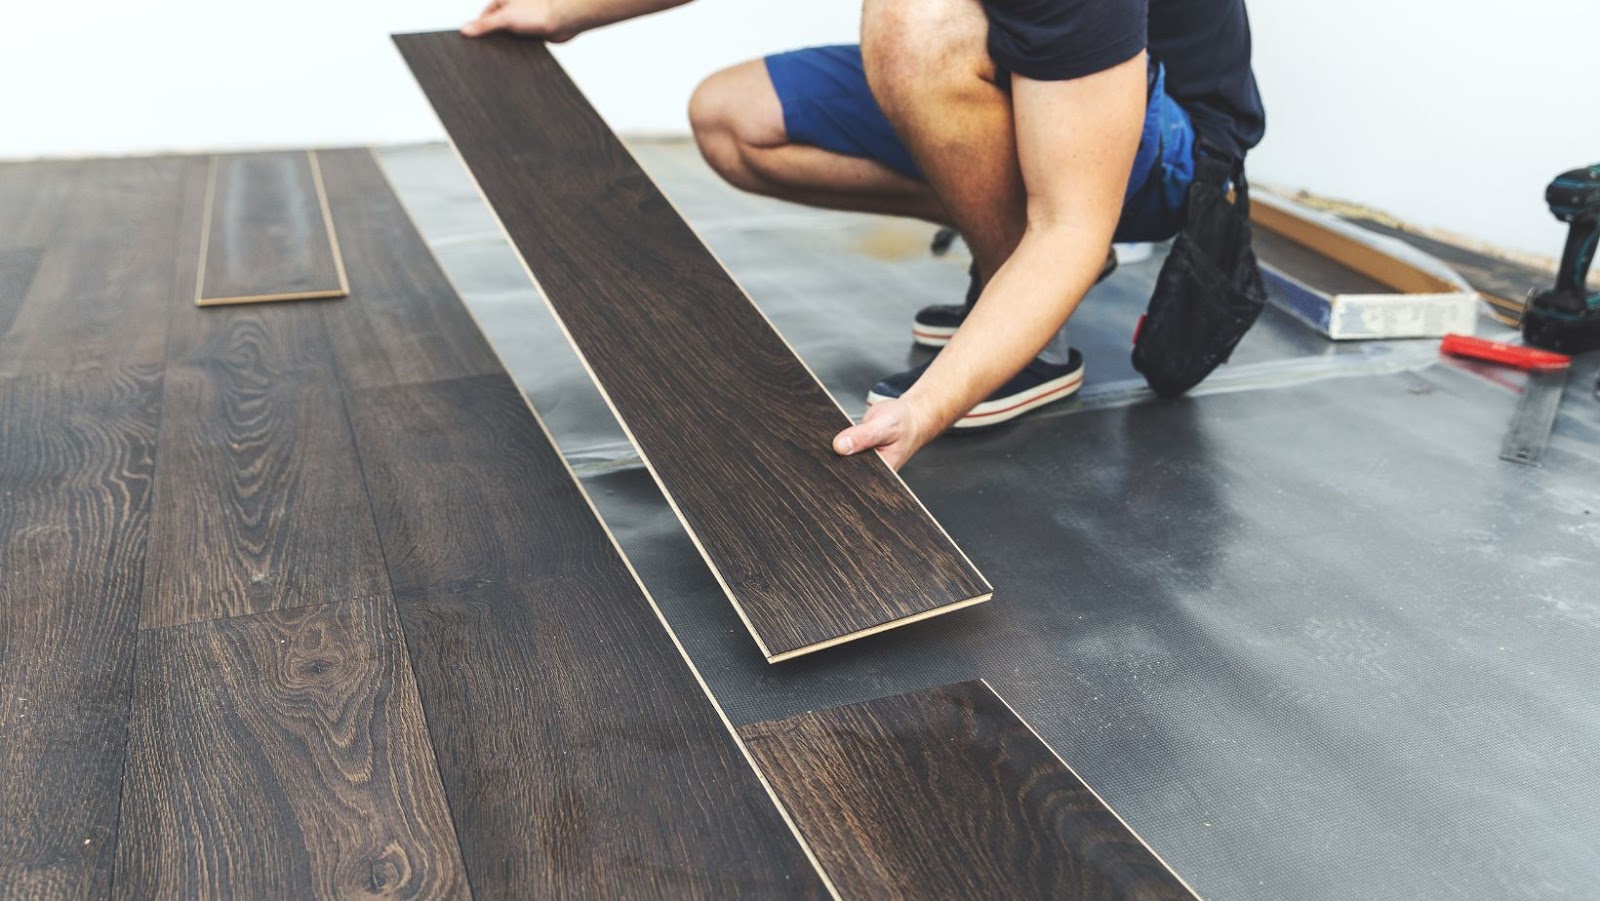
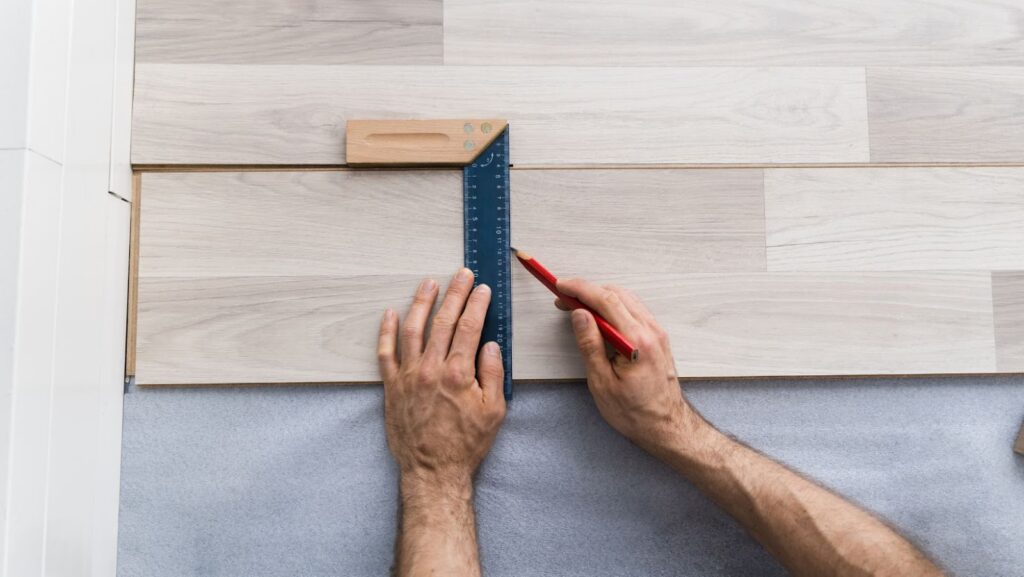
The best way to replace warped boards is with a precise wedge-like cut in order for the new board fit into the pre-existing one. First, pry up and remove all of the surrounding planks. Then, using a circular saw set to very shallow depth, make a precise cut out of each side of the board you are replacing at 45 degrees (Figure 1). Firmly press in new plank and adjust as necessary until a snug fit is achieved (Figure 2). Use a rubber mallet if needed to ensure that all boards lay flush against each other (Figure 3). Once done, use tapping blocks or a pull bar along all edges of boards inserted for proper seating.
Ensure that any replacement planks have been stored flat for at least 48 hours before installation in order for them to acclimate to their environment prior to use. Keeping your laminate flooring well maintained by following recommended cleaning instructions can also help reduce warping over time. If you continue to experience differences in temperature or humidity that could create issues with your flooring, consider installing a Plexiglas barrier between your floor and its surroundings as an extra measure of protection against warping caused by shifts in environmental conditions like moisture accumulation or extreme temperatures.
Check for subfloor damage
When dealing with warping issues, it’s important to first diagnose any underlying damage that may be the source of your issue. Start by removing any trim pieces along the perimeter of your laminae floor and inspect your subfloor for signs of damage such as buckling, broken seams, or cracks. If you notice any warping in the subfloor, this could be what is leading to your laminate flooring warping too.
It is also important to check your subfloors moisture levels before installation. There should not be more than 4% average moisture content between the surface temperature and indoor relative humidity level. If the levels are higher than 4%, use a dehumidifier or air condition machine to reduce them before proceeding.
Once you’ve confirmed that there is no obvious damage or excessive moisture in the subfloor, move onto checking for other causes of warping flooring such as:
- uneven weight distribution
- improper installation techniques
Troubleshooting Discoloration
Laminate flooring is a practical and attractive flooring option, but it can sometimes suffer from discoloration. If a laminate floor is exposed to direct sunlight or to moisture, it can become discolored. Fortunately, discoloration can be reversed if you take the right steps.
In this section, we will cover some common causes of discoloration and how to fix them:
Clean the floor
To prevent discoloration, it is important to keep your floor free of dirt and dust. Therefore, sweeping is a must! Regularly sweeping your laminate floor will help keep it looking fresh and new. Use a microfiber mop to pick up any dust or dirt that may be left behind after sweeping. It’s best not to use abrasive materials like steel wool mops as these can scratch the surface of the laminate and lead to discoloration over time.
In addition to sweeping and mopping, use a vacuum with a soft-brush attachment or crevice tool for hard-to-reach areas in your home. Be sure that the suction power of the vacuum is strong enough for laminate floors, otherwise you may risk scratching the surface. Avoid vacuums with rotating brushes as these can also leave scratches on your floor.
Apply a protective finish
Applying a protective finish is one of the most important steps to maintaining your laminate flooring. A high-quality finish will protect it from stains, moisture, and dirt, which can discolor or damage your floor in the long run. In addition, it makes your laminate flooring easier to clean and can add an extra layer of shine and beauty.
To apply a protective finish to your laminate flooring, use an acrylic sealer designed specifically for use on hard surfaces such as laminate flooring. Make sure to follow the manufacturer’s instructions for best results. You may need to apply two coats for maximum protection. Once you have applied the sealer, wait until it has dried completely before walking on it or adding any furniture back onto it.
It’s important to note that not all finishes are applicable to all floors – some finishes may require special considerations depending on the type of laminate you’re using and its condition. If you’re unsure which finish is right for your floors, consult a professional installer or check with your local hardware store before applying a protective layer yourself.
Replace any damaged boards
If some of your boards are discolored due to sunlight exposure, you should replace them with new boards as soon as possible. If the boards have completely faded and changed color, it may not be a good idea to try and repair them. The replacement can be done easily and quickly with a few tools. All you need is a hammer, crowbar, drill, and some wood screws to get started.
First, you’ll want to remove the damaged board. If the board is only slightly discolored but still attached to the flooring material, you can use a crowbar or flathead screwdriver to lift up one end of the board until it’s free from the surrounding material. To remove an entire section of flooring, simply use a drill or hammer to unscrew any nails or screws that may be holding it in place.
Once all fasteners are removed from the damaged area, carefully remove each board one by one and discard them in a safe place so they don’t get mixed up with new boards when it’s time for installation. To replace each individual board, start by laying out the new ones against their corresponding sections in order determine which pieces will fit properly – then cut each piece individually using a saw if necessary depending on how much customization is required for each piece of wood. Then affix them securely onto the subfloor using screws appropriate for that material so they stay firmly in place without slipping around once in place.


More Stories
Luxury Glassware for Yachts — Which Collections Are Worth Bringing On Board
Zoning Spaces Within a Single Room: Architectural Strategies for Spatial Clarity
Luxury Upgrades on a Budget: How to Achieve a High-End Look for Less