
A platform bed is a great way to add a modern and stylish element to your bedroom. Before you start building a queen size platform bed, it is important to prepare. You will want to make sure you have the right tools and materials ready to make your platform bed. You will also need to measure your space carefully so that the platform bed fits in your room perfectly.
This part will cover all the preparation steps you will need to take before starting to build your queen size platform bed:
- Gather the necessary tools and materials.
- Measure your space carefully.
- Plan the design of your platform bed.
- Cut the pieces of wood according to your measurements.
- Assemble the pieces together.
How to build a queen size platform bed
Gathering the necessary tools and materials for a queen size platform bed can seem daunting, but with the right plan in place, it doesn’t have to be an overwhelming task. Make sure you double-check that you have everything on hand before beginning to build a queen size platform bed. Start by gathering the following items:
- Tools:
- Circular saw or table saw
- Compound miter saw
- Drill and screwdriver set
- Clamps
- Safety glasses and gloves
- Measuring tape
- Materials:
- 3/4 inch plywood, 48” x 96” (2 pieces)
- 1 by 4 pine lumber (6 pieces 60 inches; 10 pieces 51 inches; 44 pieces 16 inches)
- (12) 2” wood screws
- (60) 1 1/2” wood screws
- Corner brackets (4 sets) or L brackets (8 singles)
- Drill bit sized for wood screws you are using
- Wood glue
- Foam mattress pad
- Mattress protector/bed skirt
- Fabric/upholstery material of choice
- Wood filler
Measure the space and decide the dimensions of the bed
Before you start building the queen size platform bed, it is important to measure the space where you are going to place the bed. This will help you determine the appropriate dimensions of the bed. Consider other furniture that may be in the room such as night stands, dressers, and desks. Take into account both available floor space and ceiling height when making your measurements.
Once you have measured your space, decide on the dimensions of your platform bed. Standard queen size mattresses measure 60×80 inches (152×203 cm). You can build the frame around this size or customize the shape and size to fit your specific needs or design tastes. If you are designing a wrap-around style frame with drawers for storage underneath, add a few inches for clearance for each drawer opening. Make sure not to sacrifice too much comfort to gain more storage because mattress depth should remain comfortable after factoring in box springs or other alternate support systems such as slats.
Construction
Building a queen size platform bed can be a rewarding project for the experienced and novice woodworker alike. A platform bed is ideal for an open bedroom concept as it does not take up a lot of space and can be used for additional storage underneath.
In this guide, we will provide a step-by-step plan for constructing a queen size platform bed from scratch. Whether you are an experienced woodworker or are just starting out, you can use this guide to build your very own queen size platform bed.
Cut the wood to the desired dimensions
Before you start building your bed, you’ll need to cut the wood to the desired dimensions. This includes cutting four pieces of 1×10-inch boards at 80 inches long and two pieces at 57 inches long. You will also need to cut four legs, each of which should be 8-inches tall and 7-inches wide.
Once all the wood is cut, you can sand each piece with fine-grit sandpaper (220 or higher). Doing this ensures that all edges are smooth and splinter-free for a comfortable fit when assembling your bed.
Assemble the frame
To assemble the platform bed frame, begin by laying out the sideboards, top boards, and rail boards. Align them so that they form a rectangle. Use clamps to keep them secure during assembly.
Next, attach the left and right sides of the frame together using pocket screws. This can be done either with the Pocket Hole Jig or with standard deck screws if there is no access to a pocket hole jig. If you choose to use traditional screws for this application you will want to pre-drill pilot holes and countersink where required.
Once the sides are secured together flip the frame over so that it is facing down and attach the center support piece with two 2” deck screws placed along each edge of your center support piece. Placement should be done 2-3” in from each end of your center support piece. Once all 4 screw holes have been drilled secure your center support piece in place using 4 deck screws and washers.
Now attach one of the remaining four rail boards on top of your side board towards one end of your platform bed frame using two 2” deck screws per end secured through your side board into each end of every rail board piece attached making sure that they are flush in between each other as you go along.
Turn over your platform bed frame upright once again and repeat attaching your remaining three pieces; two horizontally across on top between both ends like previously mentioned as well as one at an angle for added stability for mattress placement if desired at this time or leave off until later on in assembly if opting out from adding it now. Make sure these rail boards are snugly fitted in between both sides with minimum gap observed when checking it can look good from all angles.
Attach the slats
When all the pieces are cut, sanded and ready to assemble, begin by attaching the wooden slats to the two pieces that were assembled in step four. Be sure to offset each slat by one inch so that the platform bed will be sturdier. Attach the slats using wood glue and one-inch screws into pilot holes drilled at an angle. If you are using a Kreg Jig, simply drill pocket holes into the sides of each slat and secure with 1 1/4 inch-long screws.
You should have ten evenly spaced wooden slats that run the length of your queen size platform bed once finished.
Finishing
When it comes to finishing a queen size platform bed, the most important step is sanding. This includes both sanding the surfaces of the wood, as well as sanding the edges. Sanding helps create a smooth finish, which will make the wood look better and last longer.
After sanding, it’s important to finish the bed frame with sealer, primer, or paint – regardless of the finish you choose. This will help protect the wood from scratches and moisture, and give your bed the perfect finishing touch.
Sand the wood
Sanding the wood is an important step to ensure a smooth and thorough finish. Before sanding, make sure the wood is clean, dry, and free from any splinters or sawdust. A sanding block or the backside of a belt sander set to medium grit should provide an even, level surface for finishing. Move in small circular motions to make sure none of the wood’s grain is missed. A finer grit can also be used after the surfaces are evened out.
Once sanded, remove any remaining sawdust with a vacuum or cloth before applying a sealer or other finish product. Be sure to wear safety glasses and earplugs while sanding to protect your eyes and hearing from dust particles and scratches.
Stain or paint the wood
The final step in building a queen size platform bed is staining or painting the wood to your desired finish. Staining or painting requires two main processes- prepping and applying the chosen product.
Prepping involves sanding and cleaning the surface of the wood before staining or painting it. Sanding with a medium to fine grade paper will open up the grain of the wood and make it smoother. This will also help ensure that any applied product will be more effective and easier to work with. After sanding, you should use a strong degreaser to clean off any dust particles that may remain on the wood’s surface. Once you have finished prepping, it is time to apply your chosen product – either stain or paint.
When applying stain, begin by stirring the container steadily so all particles settle evenly before pouring into a brush or rag tray. When dampening with stain, be sure not to put excess on one area as this can cause dark spots that are difficult to lighten disticably while being distributed uniformly over your Queen Size Platform Bed frame’s surface. Once you have evenly spread out your stain, allow it adequate drying time before applying a sealer for protection against scratches, fading and any future exposure issues it might face from everyday wear and tear from day-to-day use of your bed frame.
Paint application requires similar steps for preparation prior but instead of using a brush or cloth for application, you’ll opt for an angle brush instead – which can also be used for touch-ups after paint has dried as needed throughout its lifetime if necessary as well down the road. Paint application also requires multiple coats depending on how vibrant you’d like the overall look of your completed Queen Size Platform Bed frame to be before adding its final clear coat layer of acrylic sealer spray which can come in different sheen levels (flat/matte/satin) depending on personal preference & aesthetics desired by user/buyer attention given your bed’s style & design (e.g., farmhouse rustic charm vs midcentury modern flavor).
Apply a finish
Once you have built your queen size platform bed, it’s time to finish off the look with a protective coat of paint, stain or clear sealant. A clear sealant can help protect wooden surfaces from water damage and general wear and tear while still allowing the natural beauty of the wood to show through. If you wish to give your bed frame a fresh coat of paint or stain, make sure to select a high quality product that is appropriate for the type of wood used in your frame. Before applying any kind of finish, always ensure that your wood is sanded and clean.
Once you are happy with the look of your frame, you can begin to apply your chosen protective coating or finish. This generally comes in several forms such as
- brushes,
- rollers,
- spray guns
– so choose whichever method works best for you. Start by painting short strokes in an up-and-down motion across each surface, taking extra care around any detailed areas such as mouldings or carvings that may require special attention. Once you have completed this step for all areas requiring protection, leave it to dry overnight before adding any additional coats required for full coverage.
Assembly
Building a queen size platform bed requires basic carpentry skills and is a fairly straightforward process. The platform bed assembly process consists of three steps:
- Creating the bed frame
- Attaching the bed slats
- Assembling the bed frame supports
With the right tools and materials, you can easily put together your own queen size platform bed in no time.
Place the frame on the floor
Once your frame is constructed, place it on the floor in the area where you plan to assemble your bed. Ensure that the slats are correctly positioned before you proceed to the next step, and make sure the frame is lying flat on the floor. It’s helpful to have a friend help lift and turn your frame as needed during this process.
Add the base system of springs or wooden slats. This will help provide support for your box spring or mattress. If you’re creating a wooden platform bed, use either two layers of 3/4″ plywood sheets or three layers of 1/2″ thick sheets for adequate support. The plywood should be cut to fit each side of your frame with 1/2″ clearance around all edges for ventilation and expansion; this prevents rot and ensures a long life from any mattress placed on top.
Secure each layer with wood screws and wood glue by drilling pilot holes first to prevent splitting wood. Make sure that each screw head is recessed slightly so it does not protrude through your mattress material when everything is assembled; this will also ensure a longer wear time since it will not press into you during sleep.
Attach the headboard and footboard
Once the platform is assembled, you can attach the headboard and footboard for a complete look. You may need to buy additional fasteners such as screws or bolts depending on the type of headboard and footboard you purchase. If possible, use manufacturer-recommended fasteners as standard screws or bolts may not provide enough stability.
Attach the headboard first, stand the bed up on its side just before laying it back down flat. Use a level to ensure the headboard is straight, then drill wood screws into each hole provided in the headboards attachment system that was designed for use with your particular model platform bed.
If both side rails have pre-drilled holes (as most metal frames will have), simply attach them through these with fasteners, following all safety instructions provided by both manufacturers and doing a test fit before attaching completely. If your metal frame does not include pre-drilled holes, you can either drill holes yourself or purchase extra hardware specifically intended for attaching those particular pieces together—making sure they are correctly aligned is critical when taking this approach!
Attach the footboard in much the same way with either pre-drilled holes (if available) or extra hardware if needed. When attaching any hardware, be sure to follow all safety instructions provided by both manufacturers and do a test fit prior to completely securing all pieces together. Once all pieces are assembled correctly and securely affixed together, your queen size platform bed is ready for use!

Attach the mattress and bedding
Once the bed frame has been built, organizers and bedding can be added for a finishing touch. The mattress should rest snuggly inside of the bed frame and should be attached with hooks depending on the type of wood and finish used. The existing measurements from Step 1 will form the basis for your mattress size so make sure to get one that fits inside comfortably.
The mattress can then be secured with a linen sheet or fitted sheet to ensure everything is held in place. If there is an excess, it must be tucked under as necessary. Some people may choose to add an egg crate beneath their fitted sheet to support the mattress further, or a traditional spring or box mattress can also be added if desired.
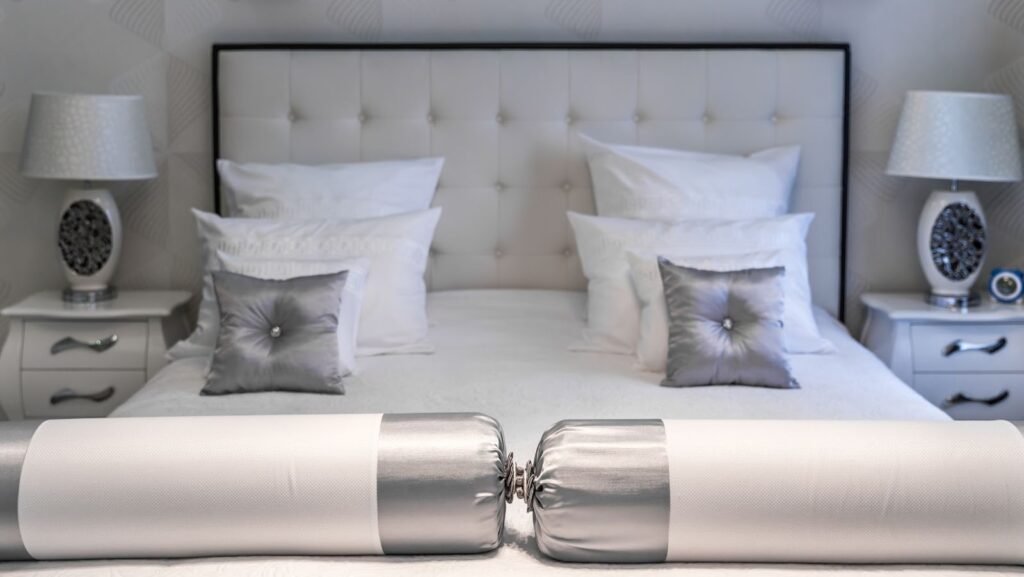
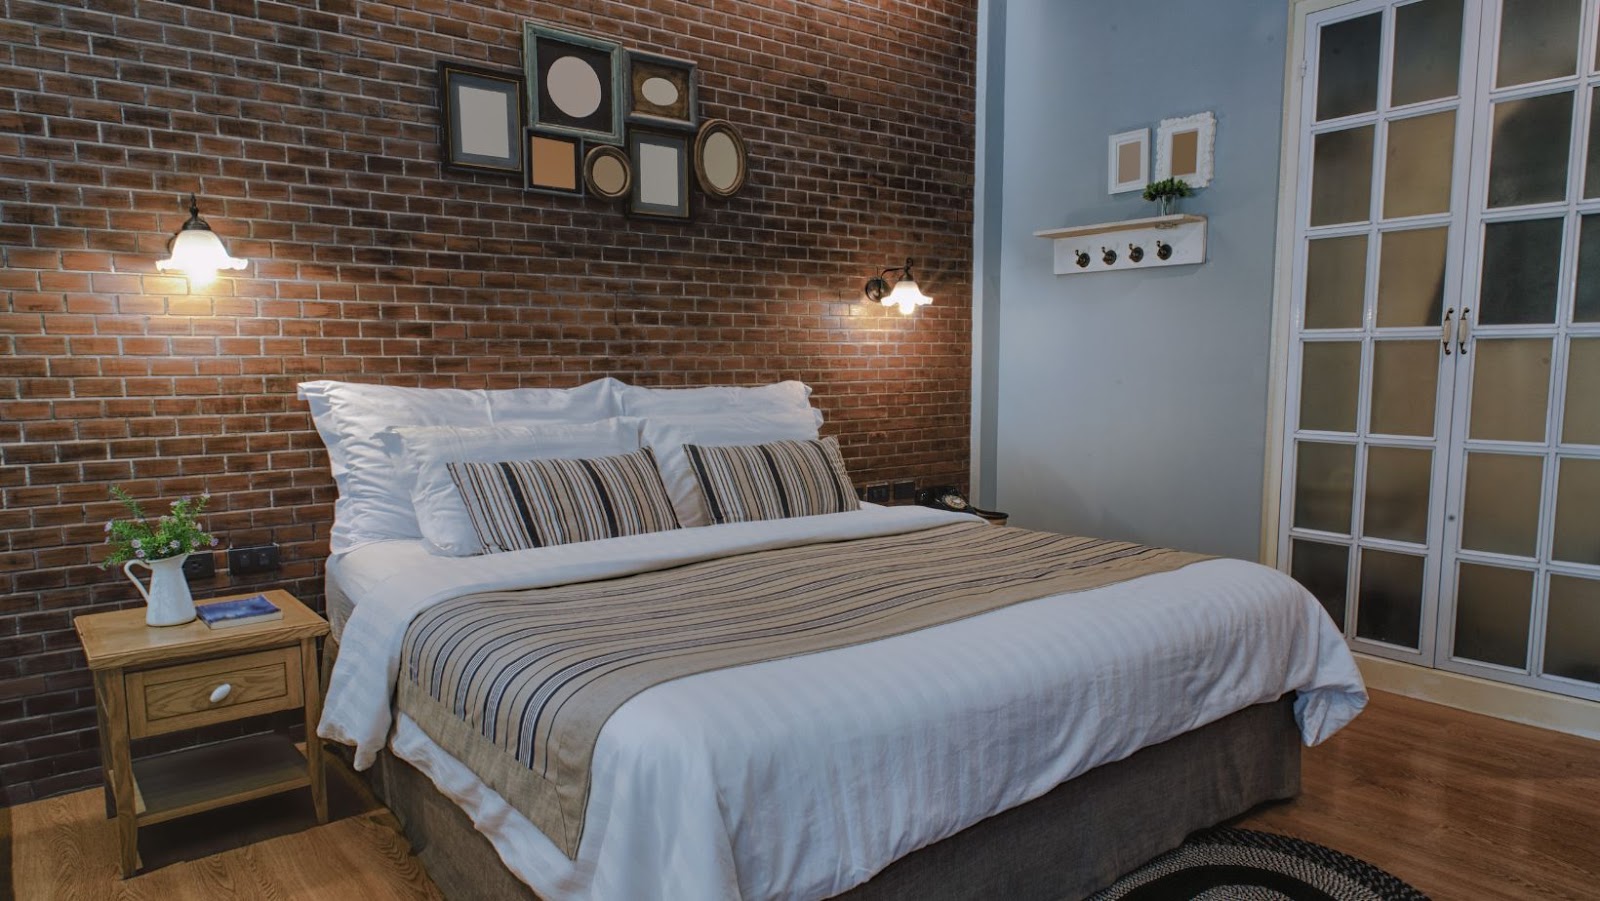
The outer sections of the queen-size platform bed can then be dressed up with pillows, blankets and comforters as per individual tastes. Duvets and quilts make nice optional comforters because they are light in weight yet still provide adequate warmth during colder months of the year. Depending on your style preferences, feel free to add whatever additional decorations you like to best suit your bedroom décor.
More Stories
The Impact of Waterborne Volatile Organic Compounds on Women
The Impact of Waterborne Volatile Organic Compounds on Women
Revamping Kitchens into High-Performance Spaces