
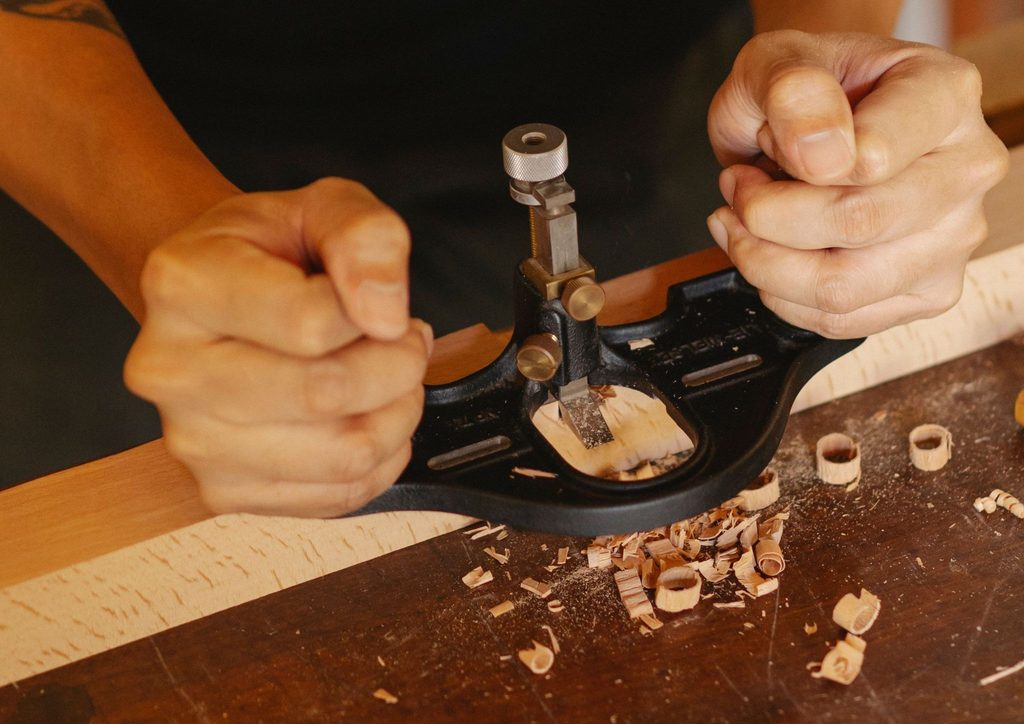
There are many ways to carve wood, but for a beginner, it is particularly important to choose a carving style that matches their interests and current skill level. Relief carving and chip carving differ not only in the final look of the carving but also in the way each technique approaches shape, depth, and pattern.
What Is the Difference Between Relief Carving and Chip Carving
To understand what is relief carving, it is worth imagining an image that seems to rise above a flat wooden surface. Relief wood carving creates depth by gradually removing the background, shaping forms and creating transitions between different levels. The result is plant motifs, animals, ornaments, or narrative scenes. Wood relief carving can be low, medium, or deep depending on the height of the details and the complexity of the idea.
The answer to the question what is chip carving is different: it is a technique in which the carver small wedge-shaped fragments of wood, forming a repeating geometric ornament. Stars, rosettes, diamonds, and triangles arise due to a series of short, clearly planned cuts. Therefore, what is a relief carving is primarily a three-dimensional composition, and chip carving is a decorative pattern built on rhythm and symmetry.
Both directions are useful for developing accuracy. They teach you to read the wood grain, control the pressure, and plan the sequence of movements. Carving tools and basic knives for practice are available at forgedsteeltools.com.
What Tools You Need for Relief Carving vs Chip Carving
Relief carving tools usually require a wider set: semicircular chisels of various profiles, straight chisels, a V-shaped cutter, a mallet and a knife for cleaning the contours. Deeper areas are often removed gradually, so tools for rough material removal and fine surface modeling are important.
Chip carving tools are much more compact. For many projects, one knife with a short, stiff blade is enough, and, if necessary, a second knife for small details. High-quality chip-carving knives have a stable tip that is easy to place precisely on the markings. For chip carving beginner, you will also need a ruler, a pencil, compasses, and a flat board made of linden, alder, or another even-textured wood.
A minimum starter kit can be formed as follows:
● for chip carving: one knife, marking tools, and a softwood blank;
● for relief carving: several chisels, a mallet, a contour knife, and a reliable fastening of the part.
Which Style Is Easier to Learn First
For an absolute beginner, chip carving is often a more affordable start. You don’t need to buy a large set of chisels, and small ornaments can be completed in one session. The first exercises help you understand how to chip carve wood: it is important to make clean cuts, guide the blade to the center point, and avoid cutting too deep.
Relief carving for beginners requires more patience and planning. The master must control different levels of depth, take into account the direction of the fibers, and understand how each chisel shapes the surface. At the same time, this technique gives more freedom to create three-dimensional scenes and artistic panels.
If you like precise geometric motifs, start with chip carving. If you want to create leaves, animals, portrait elements, or decorative reliefs, choose relief carving. The best way is to master basic knife control in simple patterns, and then move on to small relief compositions. A quality tool and regular practice will help you quickly understand how the two techniques differ and develop your own style.
More Stories
The Deal Structure That Avoided Antitrust Is Now on Trial
How To Contact The FlyArchitecture Crew: A Practical Guide For 2026
Why Building Rules Matter When Moving Into a Vancouver Condo